The practical paper is a different animal
If you have been revising for your IGCSE Biology theory papers by memorising facts and practising past questions at a desk, Paper 5 is going to feel like stepping into a completely different exam. This is the Cambridge IGCSE practical component, and the approach it rewards is fundamentally different from anything on Papers 1 through 4. You will be standing at a lab bench, handling real specimens, measuring real liquids, and recording real observations. The marks here come from what you do and how accurately you record it, not from how much you can recall from a textbook.
Paper 5 is worth 40 marks and lasts 1 hour 15 minutes. That gives you roughly 1 minute and 50 seconds per mark, which sounds generous until you realise that setting up apparatus, waiting for results, and drawing biological specimens all eat into your time in ways that theory questions never do.
The good news? The skills this paper tests are entirely learnable. Once you know what examiners are looking for, you can practise them in any biology lesson and see your marks climb steadily.
What the paper actually tests
Paper 5 assesses four broad skill areas. Every question on the paper falls into one of these categories:
- Making and recording observations: looking at specimens, measuring quantities, and drawing what you see accurately.
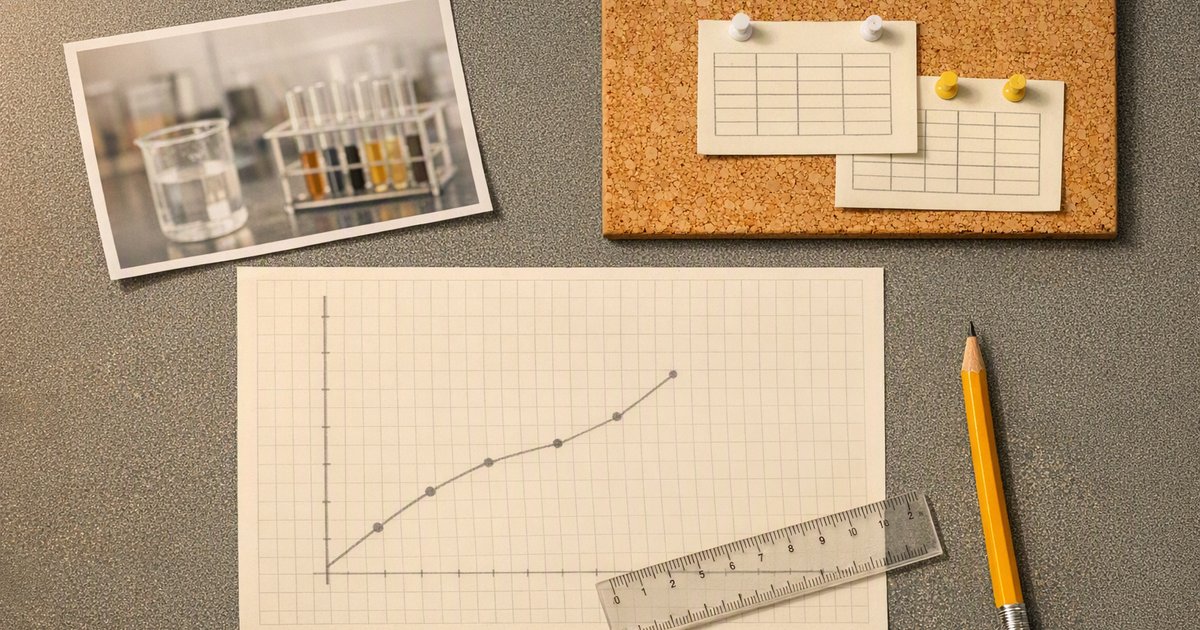
- Handling and presenting data: setting up results tables, plotting graphs, and calculating values like rates or averages.
- Planning experiments: identifying variables, describing a method, predicting outcomes, and explaining how to make the test fair.
- Drawing conclusions and evaluating: explaining what results show, spotting anomalies, and suggesting improvements to methods.
The balance between these varies from session to session, but you can expect at least one biological drawing question, at least one data-handling question, and at least one planning or evaluation task in every sitting.
Biological drawing: the skill that wins or loses marks
If there is one skill that separates strong practical candidates from weaker ones, it is biological drawing. The examiners are not looking for artistic talent. They want scientific accuracy. Here is exactly what they expect:
| Rule | What to do | What NOT to do |
|---|---|---|
| Medium | Use a sharp HB pencil with clean, single lines | Use pen, felt tip, or coloured pencils |
| Shading | Leave all areas white (no shading at all) | Shade, stipple, cross-hatch, or colour any region |
| Size | Fill at least half the available space | Draw a tiny diagram crammed into one corner |
| Proportions | Keep relative sizes accurate to the real specimen | Exaggerate or shrink parts to fit the page |
| Labels | Draw straight horizontal lines to the structure, with the label written at the end | Use arrows, curved lines, or labels inside the drawing |
| Title | Write a title underneath including the magnification (e.g. "x4") | Leave the drawing untitled or forget magnification |
| Outlines | Use continuous, smooth lines for cell walls and membranes | Use sketchy, broken, or feathered lines |
What a good biological drawing includes
- Clean, continuous outlines drawn with a single pencil line.
- Correct proportions matching the specimen you are looking at.
- Large enough to show detail clearly (at least half the space provided).
- Labels using straight, ruled lines that do not cross each other.
- A title with the specimen name and the magnification used.
- No shading, no colour, no artistic embellishment.
Setting up results tables
Nearly every Paper 5 will ask you to record data in a table, and there is a specific format that examiners expect. Get this right and you pick up easy marks. Get it wrong and you lose marks before you have even started the experiment.
| Feature | Correct format | Common mistake |
|---|---|---|
| Column headings | Include the quantity AND the unit, separated by a forward slash (e.g. "Temperature / degrees C") | Writing the unit inside each cell or forgetting units entirely |
| Independent variable | Goes in the first (left) column | Putting it on the right or mixing variables across columns |
| Dependent variable | Goes in subsequent columns | Combining multiple measurements into one column |
| Lines | Use a ruler to draw all lines (horizontal and vertical) | Drawing freehand wobbly lines or no lines at all |
| Data | Record to the same number of decimal places throughout a column | Mixing "3.5" with "4" and "2.50" in the same column |
Plotting graphs that pick up full marks
Graph plotting is one of the most common places to lose marks unnecessarily. The rules are straightforward, but students break them constantly under exam pressure.
- Axes: The independent variable goes on the x-axis (horizontal). The dependent variable goes on the y-axis (vertical). Label both axes with the quantity and the unit.
- Scale: Choose a scale that uses at least half the grid in both directions. Avoid awkward scales like 3s or 7s. Stick to 1s, 2s, 5s, or 10s.
- Plotting points: Use small, neat crosses (not dots, not circles). Each cross should be exactly where the data point falls on both axes.
- Line of best fit: For continuous data (like temperature vs. enzyme activity), draw a smooth curve or straight line that follows the general trend. Do NOT join the dots like a connect-the-dots puzzle.
- Bar charts vs. line graphs: Use a bar chart for discontinuous (categorical) data. Use a line graph for continuous data. Getting this choice wrong is a surprisingly common error.
Planning experiments
Planning questions ask you to design an experiment to test a hypothesis. These are worth several marks and require a structured response. Think of every plan as having five essential parts:
- Independent variable: What are you changing? State it clearly and give the specific values or conditions you will test (e.g. "temperature, tested at 20, 30, 40, 50, and 60 degrees Celsius").
- Dependent variable: What are you measuring? Be specific about how you will measure it (e.g. "the volume of gas collected in a measuring cylinder over 5 minutes").
- Controlled variables: What are you keeping the same? List at least two, and say how you will keep them constant (e.g. "use the same concentration of enzyme solution" and "use the same volume of substrate").
- Method: Describe the steps someone else could follow to carry out your experiment. Include the apparatus you would use.
- Reliability: State that you will repeat each measurement at least three times and calculate a mean.
The most common mistake in planning questions is being too vague. "Keep everything the same" is not enough. You need to name the specific variables you are controlling and say how you will control each one.
Using apparatus accurately
Paper 5 expects you to use standard laboratory equipment correctly. Here are the pieces of apparatus that come up most often and what examiners look for:
- Measuring cylinders: Read the bottom of the meniscus at eye level. Record to the nearest graduation mark.
- Thermometers: Wait for the reading to stabilise before recording. Keep the bulb fully immersed in the liquid.
- Microscopes: Start on the lowest magnification. Focus using the coarse adjustment first, then fine adjustment. Calculate total magnification as eyepiece lens power multiplied by objective lens power.
- Stopwatches: Start and stop at clearly defined events. Record in seconds (not minutes and seconds mixed together).
- Rulers: Measure from the zero mark, not the edge of the ruler. Record in millimetres for precision.
Drawing conclusions and evaluating
Once you have collected your data, you will often be asked to describe what it shows and evaluate how reliable your method was. These are higher-mark questions and they reward precision.
When describing a trend, use the data. Do not just say "as temperature increases, the rate increases." Say "as temperature increased from 20 to 40 degrees Celsius, the rate of reaction increased from 2 to 8 cubic centimetres per minute." Quote the numbers from your table or graph. That is what earns the mark.
When evaluating your method, think about three things:
- Sources of error: What could have gone wrong? (e.g. heat loss from the water bath, difficulty judging the exact moment a colour change occurs)
- Improvements: How could you make the experiment more accurate or reliable? (e.g. use a digital probe instead of a glass thermometer, use a colorimeter instead of judging colour by eye)
- Anomalies: Did any results not fit the pattern? If so, what might have caused them?
Time management in the practical exam
Time is tighter than it feels in Paper 5 because some tasks have built-in waiting periods. If you are running a reaction for 5 minutes and recording results every 30 seconds, those 5 minutes are locked in. You cannot speed them up.
A sensible approach:
- Read through the entire paper in the first 2 minutes. Identify which question involves a timed experiment and start that one first if the instructions allow.
- While waiting for results in one experiment, work on a drawing or planning question that does not need apparatus.
- Do not spend more than 10 minutes on any single biological drawing. If it is not right after 10 minutes, move on and come back.
- Leave 5 minutes at the end to check that every table has units, every graph has labels, and every drawing has a title.
Common mistakes that cost marks
- Drawing with pen instead of pencil. This makes it impossible to correct mistakes cleanly and immediately loses marks on the drawing criteria.
- Forgetting units in table headings. Every column heading needs a quantity and a unit. "Temperature" alone is not enough. Write "Temperature / degrees C".
- Joining dots on a line graph. Continuous data gets a smooth line or curve of best fit, not a dot-to-dot.
- Recording measurements to inconsistent decimal places. If your first reading is 3.5, all readings in that column should be to one decimal place (4.0, not just 4).
- Being vague in planning questions. "I would keep everything else the same" is not enough. Name the variable and say how you control it.
- Not using data when describing trends. Examiners want numbers from your results, not general statements about things going up or down.
- Shading biological drawings. Any shading, stippling, or colouring loses marks. Leave every region white.
- Starting a timed experiment last. If one question requires you to collect data over several minutes, starting it late means you either rush or run out of time entirely.
How to practise for Paper 5
You cannot cram for the IGCSE practical exam the way you might cram for a theory paper. The skills need physical practice. Here is what works:
- Draw something biological every week. It does not have to be in a lesson. Peel an onion, put a thin layer under a hand lens, and draw what you see. The more you practise, the faster and more accurate your drawings become.
- Practise setting up tables before you need them. Take any experiment from your textbook and set up a blank results table with correct headings, units, and columns. Check it against the mark scheme.
- Plot graphs from past paper data. Cambridge publishes past Paper 5 mark schemes. Download them, plot the data, and compare your graph to the examiner's version.
- Time yourself on drawing tasks. Give yourself 8 minutes to draw a specimen and see if you can meet all the criteria. If not, identify which rule you broke and focus on that next time.
Self-check questions
- What five features should every biological drawing include in an IGCSE practical exam?
- Where do you place the independent variable in a results table?
- When should you use a bar chart instead of a line graph?
- Name three controlled variables you might list when planning an enzyme experiment.
- Why should you not join the dots when plotting continuous data on a graph?
A hands-on guide to the IGCSE Biology practical exam, covering biological drawing, data collection, graph plotting, experiment planning, and the most common mistakes that cost students marks in the laboratory.


Nkwupụta(enwe)