Paper 2 of the Edexcel IGCSE (4PY1) Art and Design: Photography qualification is the Externally Set Assignment. It carries 72 marks, runs for 10 hours of sustained focus, and tests your ability to respond creatively to a theme set by Pearson. Here is how to handle it.
The edexcel igcse art and design: photography paper 2 is the component that students find most daunting, because it combines the pressure of a set brief with a supervised production window. Unlike Paper 1, where you develop your portfolio at your own pace across the course, Paper 2 compresses the creative process into a preparatory period of roughly eight to twelve weeks, followed by 10 hours of supervised work. That is 600 minutes in which you must produce your final outcome sheet under exam conditions.
This guide covers the edexcel art and design: photography exam technique specific to Paper 2: how to interpret the set theme, how to plan your preparatory period, and how to use the 10-hour sustained focus session productively.
Paper 2 at a glance
| Detail | Paper 2: Externally Set Assignment |
|---|---|
| Total marks | 72 |
| Setting | Externally set by Pearson (broad-based thematic starting point) |
| Marking | Externally marked by Pearson |
| Preparatory period | Several weeks for research, shoots and supporting studies |
| Sustained focus | 10 hours under supervised conditions |
| Submission | Three sheets of supporting studies (max A2) and one sheet of final outcome(s) (max A2) |
The edexcel igcse art and design: photography mark scheme for Paper 2 is identical to Paper 1. The same four assessment objectives, the same five levels, the same 18 marks per AO. What changes is the working context, not the assessment criteria.
Interpreting the set theme
The theme you receive will be deliberately broad. Past edexcel igcse art and design: photography past papers for Paper 2 show themes that are single words, short phrases, or clusters of related prompts. The breadth is intentional: it gives you room to find a personal response, and the examiners explicitly reward interpretations that go beyond the obvious.
When you receive the theme:
- Do not lock into your first idea. Spend the first few days brainstorming multiple interpretations. Write them down. Mind-map the word or phrase in different directions: literal, metaphorical, personal, social, abstract, concrete. The first idea that comes to mind is usually the most obvious, which means many other candidates will have the same one.
- Choose a direction that connects to your photographic strengths. If you are strongest at studio portraiture, look for an interpretation that lends itself to controlled environments and lighting. If you are strongest at location work, find an angle that takes you outdoors. Playing to your strengths during a time-pressured assessment is smart strategy, not laziness.
- Test your interpretation before committing. Produce a few quick test shots within the first week. If the concept does not translate well into photographs, pivot early rather than persisting with an interpretation that looks good on paper but does not work visually.
Planning the preparatory period
The preparatory period is where you do all the work that feeds into your three supporting study sheets. Structure it as follows:
| Phase | Duration | What to produce |
|---|---|---|
| Research and conceptual development | Weeks 1-2 | Mind maps, mood boards, photographer references, written notes on your chosen interpretation. First test shoots. |
| Primary shoots and experimentation | Weeks 3-5 | Extended shoots exploring your concept. Experiments with different techniques, compositions, lighting and editing approaches. Contact sheets with annotations. |
| Refinement and sheet construction | Weeks 6-8 | Select strongest work. Develop refined versions. Begin constructing supporting study sheets. Ensure all four AOs are addressed. |
| Sustained focus preparation | Weeks 9-10 | Finalise supporting sheets. Plan the 10-hour session in detail. Prepare all materials, files and equipment. Run a timed practice session if possible. |
The 10-hour sustained focus: how to use the time
Ten hours sounds like a lot, but candidates who enter without a plan regularly run out of time. The 10-hour period is typically split across two or more supervised sessions (your centre determines the schedule). During this time, you produce your final outcome sheet.
Here is a time allocation that works:
| Time block | Hours | Activity |
|---|---|---|
| Session setup and review | 0.5 | Set up your workspace. Review your plan and preparatory materials. Confirm your approach. |
| Image production | 3-4 | Shoot new images if required (and if your centre provides studio or location access during the supervised session). Edit and develop images using your planned workflow. |
| Image selection and refinement | 2-3 | Select the final images for your outcome sheet. Make final edits, adjustments and prints. |
| Composition and mounting | 2-3 | Arrange, trim and mount your final images on the A2 sheet. Consider layout, spacing, visual balance and hierarchy. |
| Final review | 0.5 | Step back and assess. Check that the outcome connects to your supporting studies. Make any last adjustments. |
The exact split depends on the nature of your project. A digitally driven project may spend more time on editing and less on physical mounting. A darkroom project may spend more time on printing. The point is to have a plan before you walk in.
Igcse 4py1 paper 2 tips for each assessment objective
AO1: Develop
Your contextual research happens during the preparatory period. Make sure your supporting study sheets show clear evidence of it. Reference at least two photographers whose work relates to your chosen interpretation. Show their work, identify what you learned from it, and demonstrate where that learning influenced your own photographs.
AO2: Refine
Show range in your experimentation during the preparatory period. Try at least three distinctly different approaches to your theme before settling on the direction for your final outcome. Document your editing experiments: before-and-after comparisons, different colour treatments, alternative crops.
AO3: Record
Annotate your contact sheets. Write brief process notes alongside your experiments. These annotations are your primary evidence for AO3. They do not need to be long, but they need to be specific: what you were trying, what you observed, and what you decided to do next.
AO4: Present
Your final outcome sheet is where AO4 is most directly assessed. The work should be technically strong, visually resolved, and personally meaningful. But it should also connect clearly to everything that came before it. The examiner reads your four sheets as a single narrative, and the final outcome is the conclusion.
Edexcel IGCSE Art and Design: Photography exam tips for Paper 2
- Work backwards from the sustained focus. Decide what your final outcome will look like before the 10-hour session begins. The sustained focus is for execution, not ideation. If you are still generating ideas during supervised time, you have not prepared enough.
- Prepare a fallback plan. Equipment fails. Printers jam. Light conditions change. Have a plan B for your final outcome that you can execute with the resources available if your first plan hits a problem.
- Match your concept to your timeframe. If your concept requires a week-long location shoot across multiple sites, you will not be able to complete it during 10 hours of supervised work. Choose a concept that can be resolved within the constraints of the sustained focus period.
- Do not underestimate presentation time. Trimming, mounting and arranging images on an A2 sheet takes longer than you think, especially if you are working with physical prints. Allow at least two hours for presentation.
- Keep your workspace organised. In a 10-hour session, fumbling through unsorted files or materials wastes time you cannot recover. Organise your digital files in clearly labelled folders. Lay out your physical materials before you begin working.
Darkroom and digital strategies during the sustained focus
How you spend your 10 hours depends heavily on whether you work with analogue or digital processes.
Digital workflow. If you work digitally, prepare your project files in advance. Organise your edited images in labelled folders. Set up your editing software with the adjustment layers and presets you plan to use. During the sustained focus, your time goes into final selection, last-round refinements, exporting at the correct resolution for print, printing, and mounting. Test your printer settings during the preparatory period so you know exactly what output to expect. A colour print that comes out too dark or too warm wastes paper and time that you cannot afford during the exam.
Darkroom workflow. If you work in the darkroom, preparation is even more critical. Mix your chemicals the day before if your centre allows it. Know your exposure times and contrast grades from test prints done during the preparatory period. During the sustained focus, your time goes into enlarging, dodging and burning, washing, drying and mounting. Darkroom printing is slow by nature, so plan for fewer prints of higher quality rather than rushing through many.
Mixed-media approaches. If your final outcome combines photographic prints with other materials (collage, drawing, text, found objects), prepare all non-photographic elements before the sustained focus begins. During the supervised session, focus on producing the photographic elements and assembling the final composition. Having everything else ready lets you concentrate entirely on the work that must happen under supervision.
Paper 2 is where your ability to work under pressure meets your creative independence. The candidates who score highest are not necessarily the most technically gifted. They are the ones who interpreted the theme with originality, planned their preparation methodically, entered the sustained focus with a clear vision, and executed it with confidence. That combination of creativity and discipline is exactly what the edexcel igcse art and design: photography qualification is designed to assess.
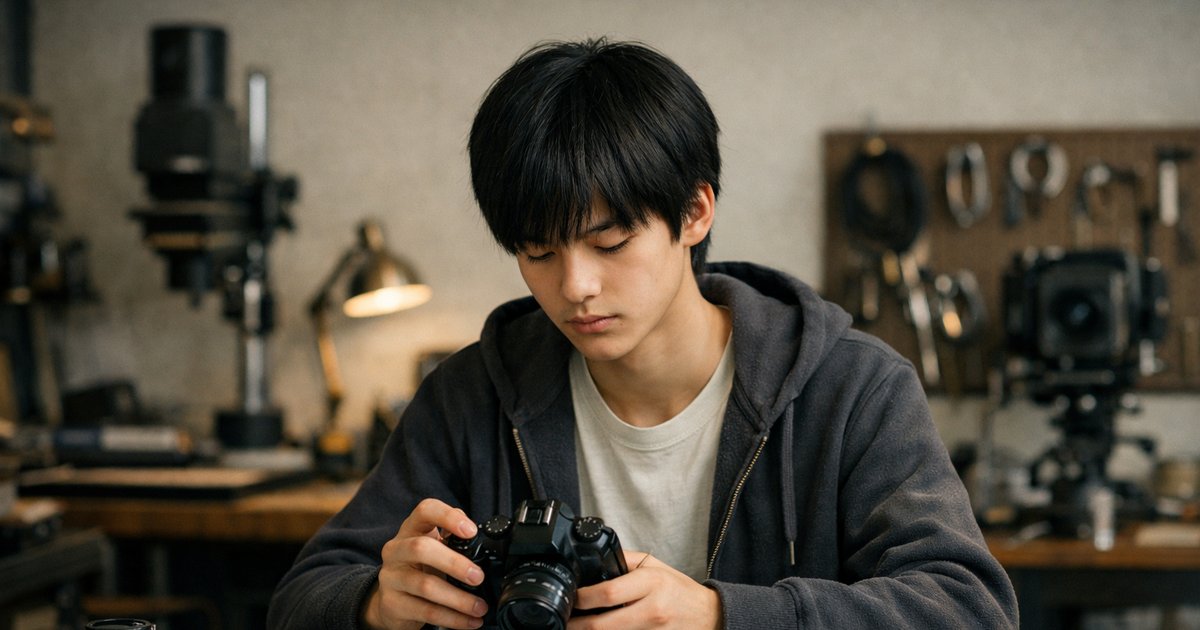
Strategy guide for Edexcel IGCSE Art and Design: Photography Paper 2, the Externally Set Assignment: preparatory period, 10-hour sustained focus and mark scheme tactics.




Commentaire(s)