The paper that tests what your hands and eyes can do
Every mark on IGCSE Chemistry Paper 5 is earned at the bench, not the desk. This is the Practical Test: 1 hour and 15 minutes in a real laboratory, 40 marks, and a set of experiments you carry out yourself. The examiners are not testing whether you memorised the properties of Group VII elements. They want to know whether you can measure a volume accurately, record a colour change precisely, plot data on a graph without misreading the scale, and explain why your results might differ from the expected value. That distinction matters, because students who prepare for Paper 5 the same way they prepare for Papers 3 or 4 consistently underperform.
The reason is structural. Theory papers reward recall and application of chemistry knowledge. Paper 5 rewards a different skill set: careful observation, disciplined recording, competent handling of apparatus, and honest evaluation of experimental error. You can know everything about titration theory and still lose marks if you record your burette reading to one decimal place instead of two. Understanding that gap is the first step toward a strong Paper 5 score.
What the paper looks like
Paper 5 typically contains two or three structured questions, each built around a different experiment. The experiments vary from year to year, but they draw from a predictable set of practical skills defined in the IGCSE Chemistry syllabus. You might be asked to carry out a titration, test for ions in unknown solutions, measure temperature changes during a reaction, or time the rate at which gas is produced. Each question walks you through the procedure step by step, but the marks come from how well you execute, record, and interpret.
Here is how the 40 marks typically break down across skill areas:
| Skill area | What it covers | Typical marks |
|---|---|---|
| Making and recording measurements | Burette readings, thermometer readings, volumes, masses | 10-14 |
| Recording observations | Colour changes, precipitate formation, gas evolution | 6-10 |
| Handling data (tables, graphs, calculations) | Completing results tables, plotting graphs, calculating averages or concentrations | 8-12 |
| Drawing conclusions and evaluating | Identifying substances, explaining trends, sources of error, suggested improvements | 6-10 |
The balance shifts depending on the experiments set, but the pattern is consistent: the largest single block of marks goes to accurate measurement and recording. Students who rush through readings to get to the "harder" analysis questions have their priorities inverted.
Time management: why pacing feels different in a lab
You have 75 minutes for 40 marks, which gives you roughly 1 minute and 50 seconds per mark. That sounds generous compared to theory papers, but there is a catch: practical work has built-in delays. Solutions need time to mix. Temperatures need time to stabilise. Titrations need to be repeated. These delays are not wasted time if you use them well, but they are invisible time sinks if you don't plan for them.
A common mistake is spending too long trying to get a "perfect" titration result on the first attempt. The mark scheme usually awards credit for concordant results (two readings within 0.10 cm3 of each other), not for perfection on a single run. Plan for at least two rough titrations and two accurate ones. If your first accurate result looks clean, a single confirming run is enough.
Measurement precision: where the easy marks live
Cambridge mark schemes are strict about recording precision. This is the single biggest source of lost marks on Paper 5, and it is entirely preventable.
The rules are straightforward:
- Burette readings must be recorded to two decimal places (e.g. 23.50 cm3, not 23.5 cm3). The second decimal place is always 0 or 5. If you write 23.5, you lose the mark even if the reading was correct.
- Thermometer readings go to one decimal place if the thermometer scale allows it (e.g. 24.5 degrees C). If the thermometer only has whole-degree markings, record to the nearest 0.5 degrees C.
- Measuring cylinder readings are recorded to the precision of the scale. A 100 cm3 cylinder with 1 cm3 divisions should give readings to the nearest 0.5 cm3.
- Mass readings follow the precision of the balance. A two-decimal-place balance means you write 12.35 g, not 12.4 g.
Recording observations: the vocabulary that earns marks
Observation questions ask you to describe what you see, smell, or feel (temperature change) during a reaction. The mark scheme expects specific chemical vocabulary, not vague descriptions.
Consider the difference:
| Weak observation (0 marks) | Strong observation (full marks) |
|---|---|
| "It went cloudy" | "White precipitate formed" |
| "Bubbles appeared" | "Effervescence / gas evolved" |
| "It changed colour" | "Solution changed from blue to colourless" |
| "It got hot" | "Temperature increased (exothermic reaction)" |
| "Something dissolved" | "Solid dissolved to form a clear solution" |
The pattern here is precise language. "White precipitate" tells the examiner you know it is a solid forming in a solution. "Cloudy" could mean anything. Always state the colour of a precipitate or solution, the type of change (precipitate, effervescence, dissolving, colour change), and whether "no visible reaction" occurred, because that too is a valid observation worth a mark.
Graphs: a worked example of what examiners want
Graph questions appear on most Paper 5 sittings. The marks are awarded for specific, checkable features, and students who know what those features are can collect them methodically.
Suppose the question asks you to plot temperature against volume of acid added. Here is exactly what the mark scheme checks:
- Axes labelled correctly with units. "Temperature / degrees C" on the y-axis, "Volume of acid added / cm3" on the x-axis. Missing units costs a mark.
- Sensible scale. The plotted points should occupy at least half the grid in both directions. If your data runs from 20 to 45 degrees C and you set your y-axis from 0 to 100, the graph is compressed and you lose the scale mark.
- Points plotted accurately. Each point must be within half a small square of the correct position. Use a sharp pencil and make small, precise crosses (not dots, not circles).
- Best-fit line or curve. Do not join the dots. Draw a smooth line (straight or curved as appropriate) that follows the overall trend. For a straight-line relationship, use a ruler. For a curve, draw freehand with a single smooth stroke.
Qualitative analysis: the structured approach
If Paper 5 includes an unknown-substance identification question, it will follow the standard Cambridge qualitative analysis format. You will be given a substance and asked to perform a series of tests: flame test, reaction with sodium hydroxide solution, reaction with dilute acid, and so on. The mark scheme expects you to record both the test performed and the observation for each, then draw a conclusion.
The key discipline here is recording negative results. If you add sodium hydroxide to a solution and nothing happens, write "no precipitate formed" or "no visible reaction." Leaving the observation cell blank suggests you forgot to do the test, which costs you both the observation mark and the conclusion mark. The Cambridge mark scheme explicitly awards marks for correctly recorded negative results.
For flame tests specifically, be precise about colours:
- Lithium: red (not "orange-red," which could be confused with calcium)
- Sodium: yellow / golden yellow
- Potassium: lilac / purple
- Calcium: orange-red
- Copper: blue-green / green
"Red flame" without specifying which cation you are testing is not enough. The conclusion must link the observation to the ion: "The lilac flame indicates the presence of potassium ions (K+)."
Sources of error and improvements: what the examiner actually wants
Almost every Paper 5 includes a question asking you to identify sources of error in the experiment or suggest improvements. This is where students who understand experimental design separate themselves from those who are guessing.
The mark scheme rejects vague answers. "Human error" is never accepted. "The experiment could have been more accurate" earns nothing. What earns marks is a specific, plausible source of inaccuracy linked to a specific improvement.
Experiment: Measuring temperature change when acid reacts with metal.
Weak answer: "There were errors in the experiment. We could have been more careful."
Strong answer: "Heat was lost to the surroundings during the reaction, so the measured temperature rise was lower than the true value. This could be reduced by using an insulated (polystyrene) cup instead of a glass beaker, and by placing a lid on the container to reduce heat loss from evaporation."
Strong error-and-improvement answers share three qualities: they name a specific physical cause (heat loss, parallax, incomplete reaction), they explain the direction of the effect on results (measured value too high or too low), and they propose a concrete change to the method that addresses that specific cause.
Here are reliable error-improvement pairs that apply across many IGCSE practical experiments:
- Heat loss to surroundings - use insulated container, add lid, repeat quickly
- Parallax error on burette/measuring cylinder - read the meniscus at eye level
- Incomplete reaction - allow more time, stir the mixture, use excess reagent
- Impure reagents or contaminated apparatus - rinse apparatus with the solution before use
- Difficulty judging colour change at endpoint - use a white tile behind the flask, use a more sensitive indicator
Titration technique: the marks behind the method
Titrations appear frequently on Paper 5 and carry a concentration of marks across measurement, recording, and calculation. The technique rewards practice more than any other part of the practical exam.
The mark scheme typically awards marks for:
- Recording the initial and final burette readings (both to 2 decimal places)
- Calculating the titre (final minus initial) correctly
- Achieving concordant results (two titres within 0.10 cm3)
- Calculating the average titre from concordant results only (excluding rough runs and outliers)
- Using the average in a subsequent calculation (moles, concentration)
A practical tip that saves time: record all your titration results in a table as you go. Do not write them on scrap paper and transfer later. The table should have columns for rough, 1st accurate, 2nd accurate, and optionally 3rd accurate. Label which runs are concordant and show your average calculation below the table.
The five-day practice strategy
You cannot cram for Paper 5 the way you might for a theory paper. Practical skills degrade without hands-on practice, and they cannot be built by reading alone. If you have access to a school laboratory, the most effective revision strategy is structured repetition of the core practical skills.
Here is a focused plan for the final week before the exam:
- Day 1 - Titration. Practise a full titration from start to finish. Focus on burette technique, reading the meniscus, and recording to 2 decimal places. Do at least three runs. Check that your concordant results are within 0.10 cm3.
- Day 2 - Qualitative analysis. Test five unknown solutions using the standard tests (flame test, NaOH addition, HCl addition). Record every observation in a table, including negative results. Practise writing conclusions that name the ion identified.
- Day 3 - Temperature and rate experiments. Measure a temperature change during an acid-carbonate reaction. Plot the data on a graph. Practise drawing a best-fit line. Identify one source of error and one improvement.
- Day 4 - Past paper under timed conditions. Complete a full Paper 5 past paper in 75 minutes. Simulate exam conditions as closely as possible. Score yourself against the mark scheme, paying close attention to recording precision and observation vocabulary.
- Day 5 - Review and targeted fixes. Revisit the marks you dropped on Day 4. If it was graph plotting, draw three more graphs. If it was observation vocabulary, make a flashcard set of the key terms. Spend the final session on your weakest area, not your strongest.
Mark scheme patterns worth knowing
After working through several years of IGCSE Chemistry Paper 5 mark schemes, certain patterns emerge that are worth internalising:
- Consequential marking applies. If you record an incorrect reading but use it correctly in a subsequent calculation, you still earn the calculation marks. This means: always show your working, even if you suspect your data is wrong.
- Units must be present. A temperature without "degrees C" or a volume without "cm3" loses the mark, even if the number is correct.
- "Credit-worthy" observations are listed explicitly. The mark scheme for each observation question contains a short list of acceptable answers. If your wording matches any item on that list, you earn the mark. If it does not, you earn nothing - even if your observation was technically correct but phrased differently.
- Graphs have independent marks. You can lose the scale mark but still earn full credit for accurate plotting and a good best-fit line. Never abandon a graph because the axes look wrong.
- The "safety" mark is free. When a question asks about safety precautions, name something specific and relevant: "wear safety goggles because the acid is corrosive" or "keep the flame away from flammable solvents." Avoid generic answers like "be careful."
Pulling it all together on exam day
When you sit down in the laboratory for Paper 5, the first three minutes matter more than you might expect. Read the entire paper before you pick up a single piece of apparatus. Identify which experiments have built-in waiting time (titrations, temperature stabilisation), and plan your sequence so that no minute is spent staring at a beaker waiting for a reaction to finish.
As you work through each question, keep three rules in mind. First, record everything immediately. Do not rely on memory to fill in tables later. Second, use the correct precision for every instrument. Third, when describing observations, use specific chemical language: name the colour, name the type of change, and record negative results.
The students who do best on Paper 5 are not necessarily the ones who love chemistry the most. They are the ones who have practised the physical skills, learned the recording conventions, and understood what the mark scheme rewards. That combination is entirely within your control, and it is the most reliable path to a strong practical score on your IGCSE Chemistry exam.
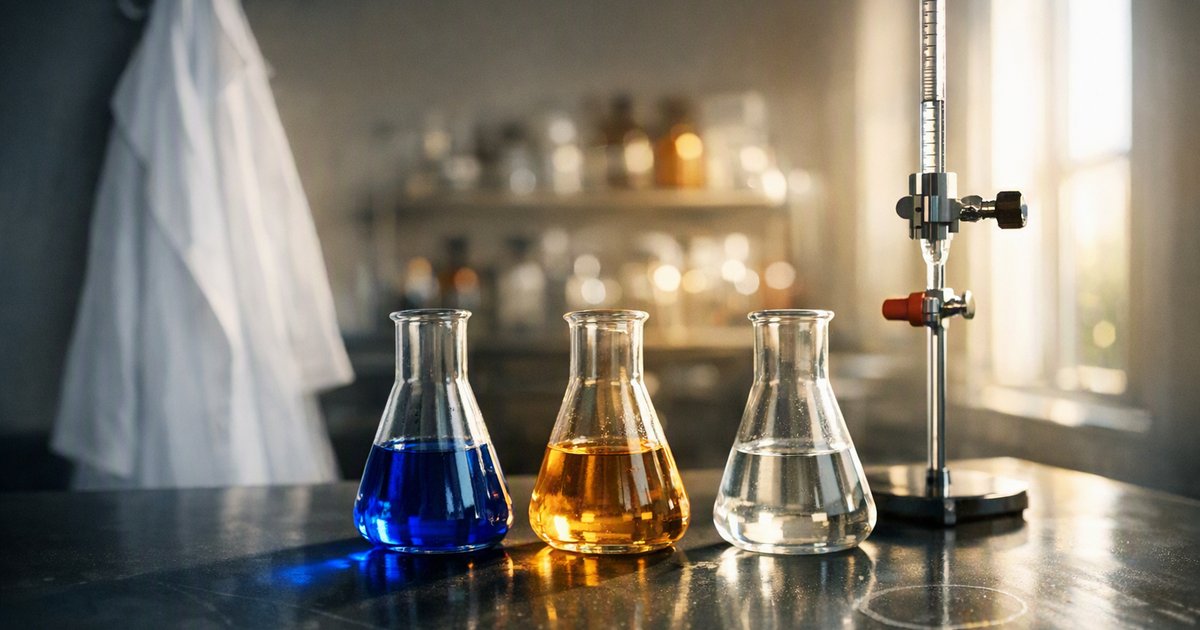
A strategy guide for IGCSE Chemistry Paper 5 (Practical Test), covering measurement precision, observation vocabulary, graph plotting technique, and the error-improvement patterns that Cambridge mark schemes reward. Includes a five-day practice plan and worked examples showing how to convert lab work into marks.





Kommentar(e)